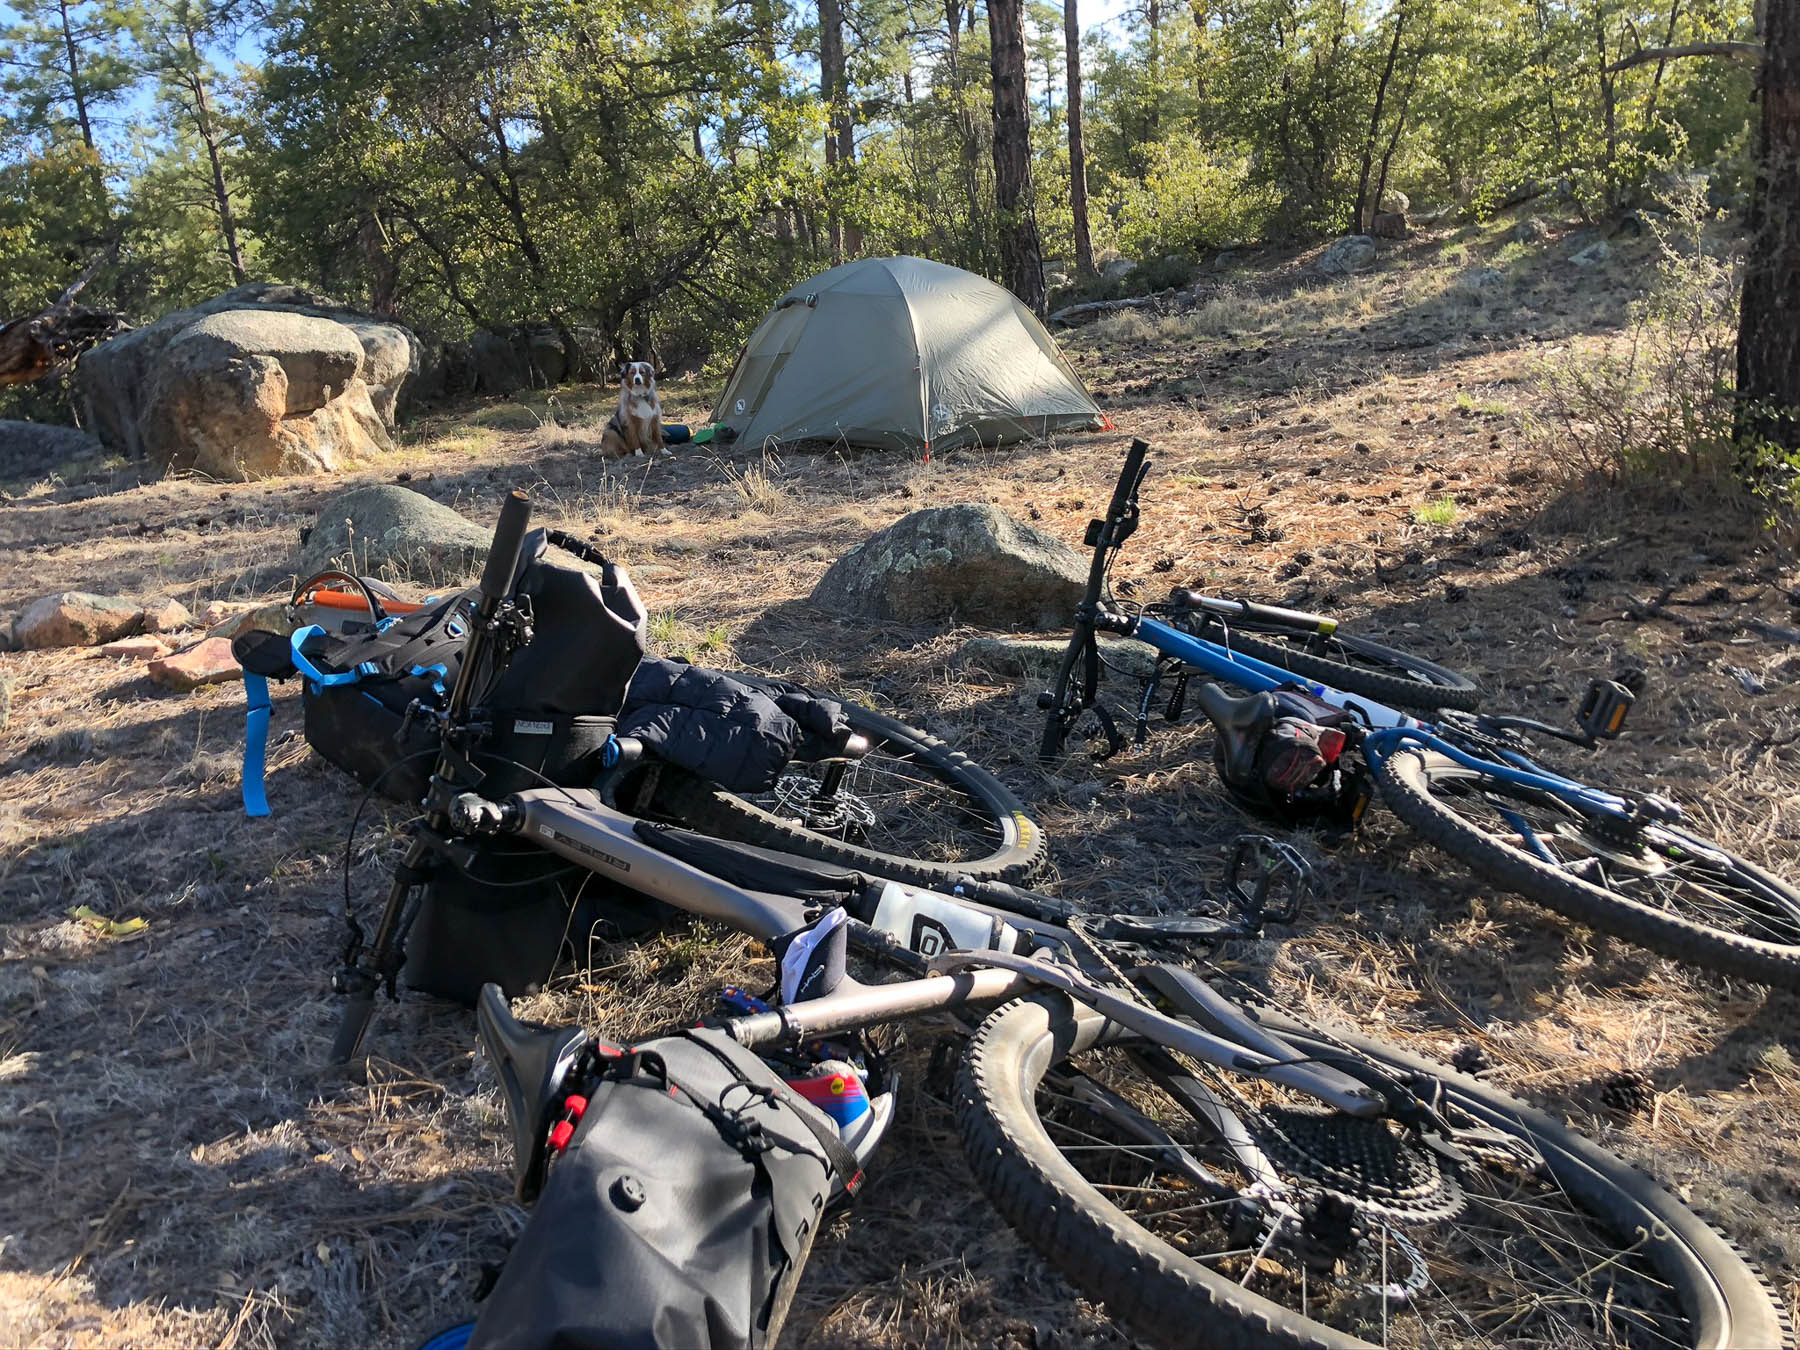
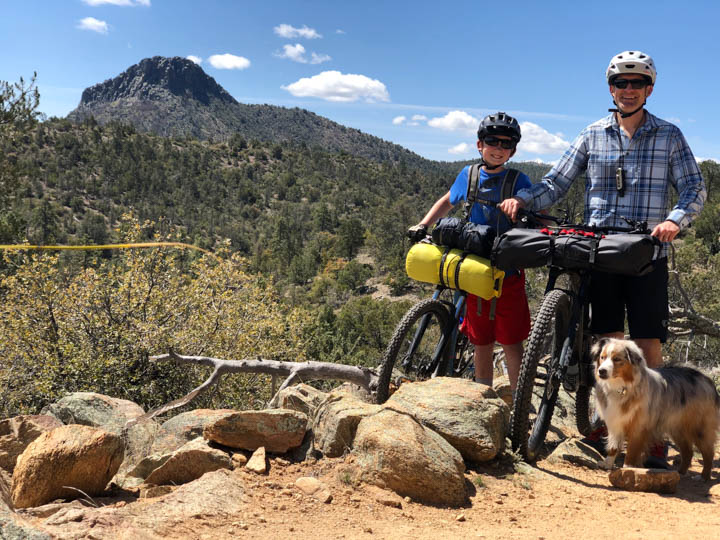
I like biking, camping, and backpacking, so I was sure to enjoy bikepacking. But I didn’t really know much about it or have any specific gear when I decided to give things a try. And thus began a couple weeks of research, several UPS shipments of bags, and one beta test run close to the house before my 11-year old son and I set out with our Aussie on a 2-night bikepacking trip! Our motto was “no owies, no flatties, and no whammies!” That all held true, for the most part, and we had an awesome adventure that has already spurred a few more trips with even more scheduled for the future.
One of the first questions in planning my maiden voyage was what equipment is needed? After a fair amount of research, I ordered a Revelate Designs Handlebar Harness, Salty Roll Dry Bag, and a Spinelock 16L Saddle Bag and started installing everything on my bike!
The Spinelock is able to hold my down sleeping bag, inflatable sleeping pad, clothes, and a couple of other accessories inside. Packing is a breeze with the one-way air purge valve and waterproof roll-down closure. Once you install a clamp to your seat rails, the bag is easy to attach and remove. You simply slide a pin through the “spine” baseplate and wrap a velcro strap around the seatpost. I can even wedge an ultralight folding camp chair into the back strap and keep a jacket and a few other loose items under a bungee cord on the top of the bag.
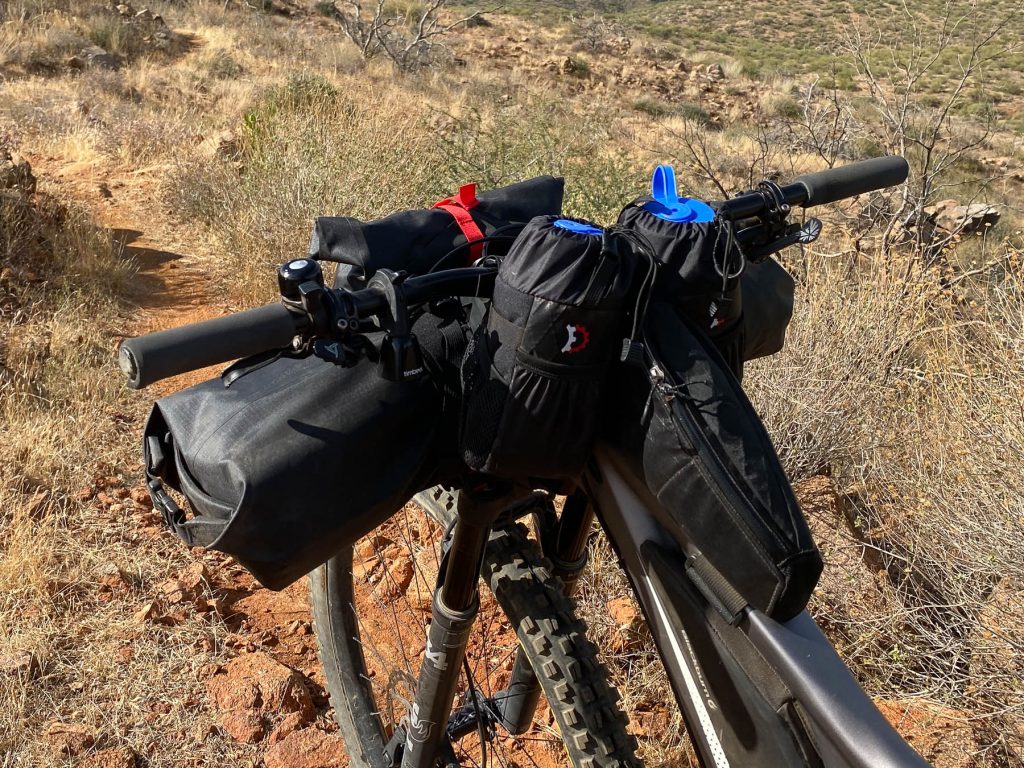
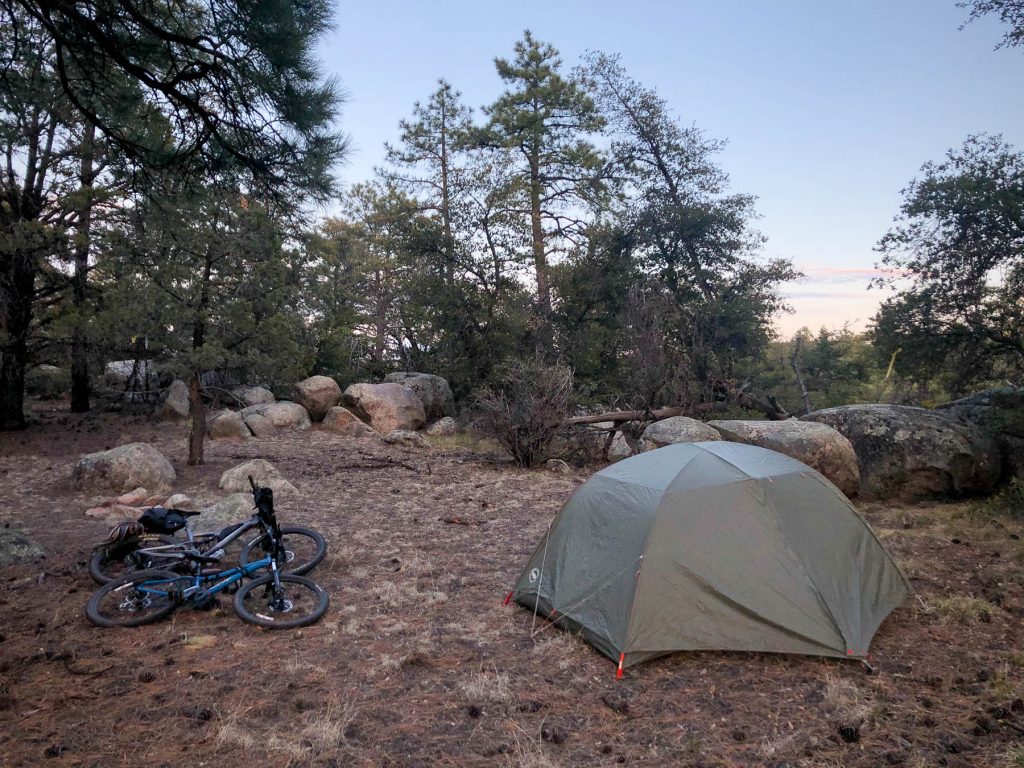
The Handlebar Harness and Salty Roll Dry Bag setup, also sold as a Sweetroll combo, securely holds our 3-man tent (for the two of us and the dog), a Jetboil with fuel canister, down coats, and rain shells. Roll down closures on each side of the bag keeps everything waterproof and easily accessible while the red horizontal daisy-chain helps strap the bag into the harness and can also be used to attach other items.
I already owned a pork chop style bag for my Ibis Ripley as well as the Revelate Designs Gas Tank top tube bag and a couple of Mountain Feedbags. This offers additional storage for things like a tool set, first aid kit, water treatment device, snacks, and sunscreen. While the above photo shows a couple of Nalgene bottles in the feedbags, I didn’t appreciate that much weight on the front of the bike and felt overly restricted while turning on singletrack. I eventually moved the water to bottle cages and packed lighter, softer items in the feed bag instead.
Even though I’m on a full-suspension bike, this setup provides adequate storage for a multi-night trip in conjunction with a small backpack for dehydrated food pouches and a few other lightweight items. A hardtail bike with a frame bag would obviously hold even more.
I really like the design, quality, and customer service that Revelate Designs offers, but I know there are several other great bikepacking bag manufacturers to choose from. Ortlieb, Oveja Negra, and Rockgeist seem to be quite popular.
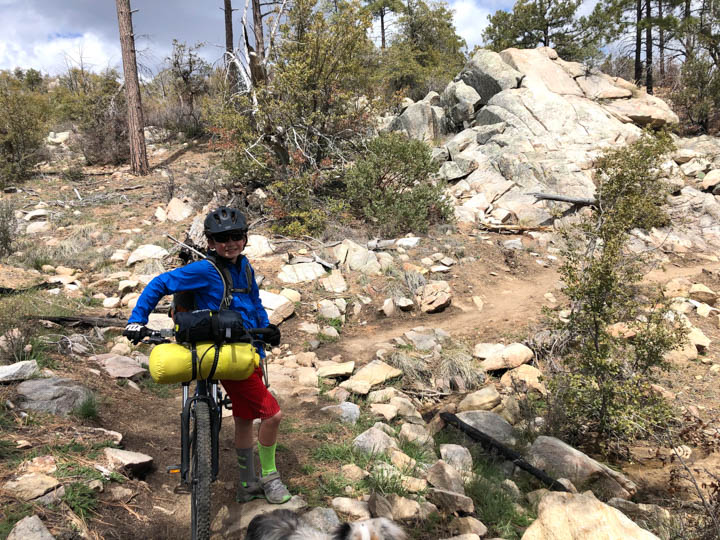
You can even skip the purpose-built bags and just strap a basic drybag to the handlebars while carrying everything else in a larger backpack. This was suggested by my friend Nick at Ride Alongside, and it worked fine for my 11-year old son with his more limited gear. He stuffed a sleeping bag inside of the yellow dry bag and attached that plus a sleeping pad to his handlebars with a pair of Revelate Designs Washboard straps and some 1″ webbing straps. He skipped the large, bikepacking style saddle bag given his smaller bike frame and minimal clearance to the rear wheel. Total cost for this setup was only $20 since we already owned a dry bag and daypack.
With everything loaded up, I decided to run a beta test over a quick one-nighter just a few miles from home. We used to do this in Boy Scouts whenever new equipment or people were added to the group before heading out on a destination camping trip. It helps everyone get comfortable using the gear while making sure that nothing has been accidentally omitted from the packing list. I highly recommend this exercise for both individual and group backpacking or bikepacking. For our test run, we took a gravel road into the National Forest to ease into the added bike weight before setting up the tent a few hundred yards off the road. An even more gradual intro could include biking along a paved road to a developed campground.
With the successful trial now completed, we packed everything up a few weeks later for a 2-night trip. I choose another slow start along a paved road and then through about a mile of fairly unchallenging singletrack. After a couple miles, we were used to the weight of our bikepacking rigs again and started taking the types of trails that we typically bike on with enough speed that our dog was panting pretty good trying to keep up.
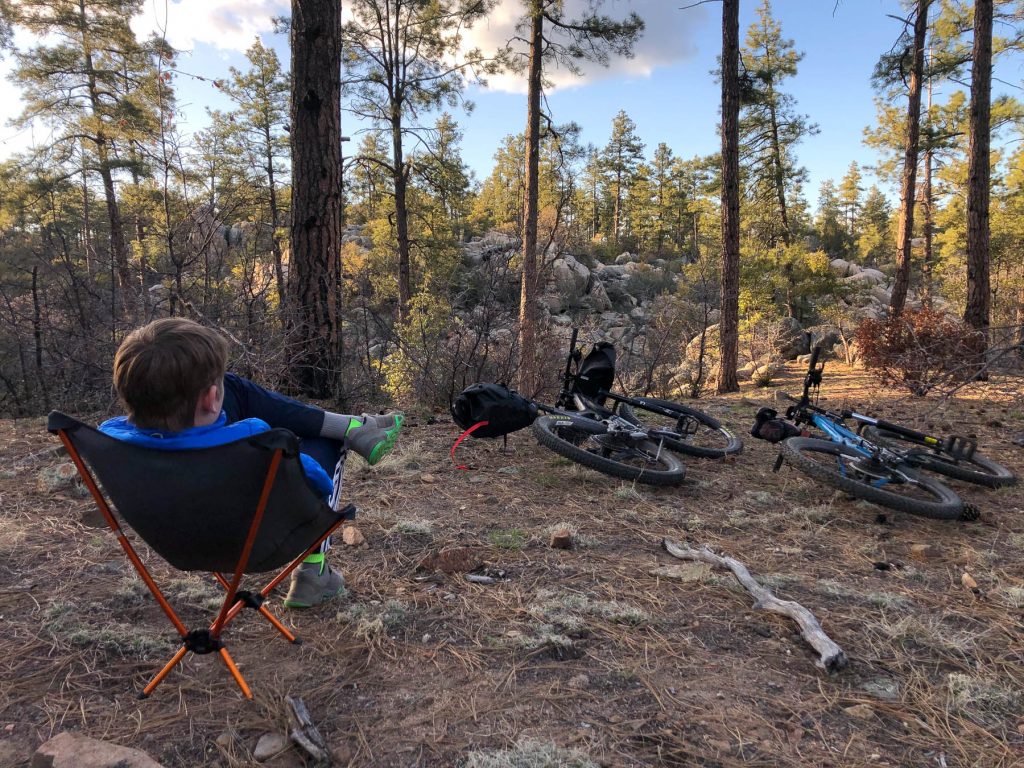
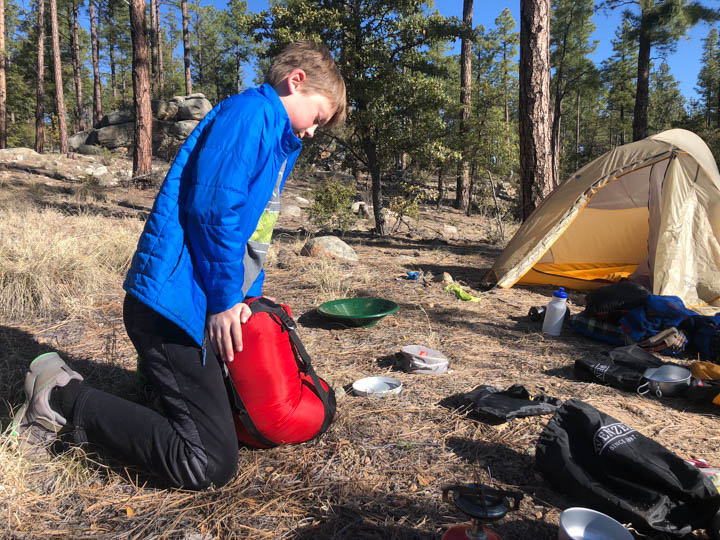
Since biking can be pretty sweaty and dirty, I was very thankful for a change of clothes to get out of the padded bike shorts and wicking shirt and into a more traditional cotton clothing setup around camp. That and the ultralight camp chairs make the non-biking time quite comfortable. Speaking of attire, I prefer flat shoes for regular biking anyway, but anyone with clipless shoes might want to consider the comfort of being in them all day let alone the restrictions hiking around the campsite.
We were fortunate to have multiple water sources thanks to a wet winter that was still melting up above us. But, I have since done bikepacking trips where I either carry enough water from the start or simply cache it along the way. Since bike trails often intersect with trailheads, forest roads, and campgrounds, it’s typically pretty easy to leave a couple of sealed water jugs.
I mentioned before that our “no owies, no flatties, and no whammies” chant mostly came true. But, we did have to break out the first aid kid for a minor scrape (owie), encountered colder weather than forecasted (whammy), and discovered a flattie on my son’s bike the morning after we parked it back in the garage even though it thankfully held air the day before on the trail. A neighbor once remarked that I carry more first aid on my bike than he has in his entire house. While I think he was either exaggerating or has a very unprepared home, I do think it’s extremely important to be ready for accidents on any bike ride. For me and bikepacking, this includes bringing a little more capable first aid kit and a few more bike tools to keep me from having to return home early.
Even though this post assumes you already own and know how to use traditional backpacking gear like down sleeping bags, sleeping pads, water treatment, and backcountry cooking devices, I wouldn’t consider that as a mandatory prerequisite to bikepacking. I know people who pedal all day from campground to campground with their heavy Ozark Trail tent, full-size Coleman stove, and cooler waiting for them at each destination thanks to a friend or family member shuttling the gear around. You can always start out with whatever gear you have under whatever itinerary you are comfortable with and then upgrade as you continue.
I’m happy to report that bikepacking is now one of my favorite activities. While I can’t always ride to the same types of destinations as a backpacking trip can access, I can cover more ground and see more places, oftentimes with less strain on my body. This can be especially true for children, which makes bikepacking something that the entire family can enjoy!
Leave a Reply