This year marks the 10th anniversary of Help-Portrait, a global movement of photographers, hairstylists, and makeup artists using their time, tools, and expertise to give back to those in need. I was fortunate enough to get involved with this event in 2009, the first year that it expanded from the inaugural Nashville location to cities throughout the world. Since then, I have founded two local chapters and learned a lot about how to put on a successful Help-Portrait event. In this post, I’ve shared some of my experience from coordinating these events in the hopes of inspiring others to do the same.
What is Help-Portrait?
The official website of help-portrait.com provides a great overview of the event. My personal experience is that Help-Portrait is so much more than what is humbly described on the official website.
I have seen photographers, makeup artists, and hairstylists who typically compete for business unite together for the common good while an army of other volunteers rallies around them to make the event possible.
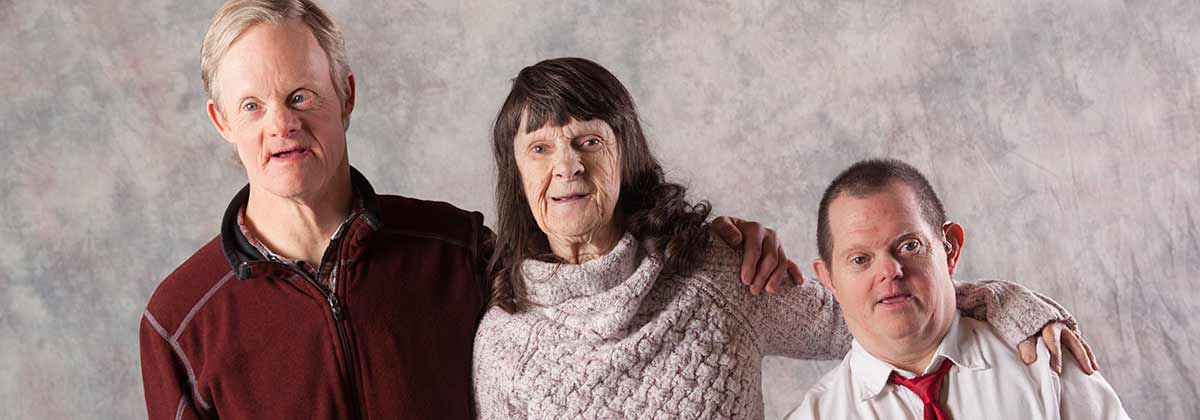
I have seen the joy of people receiving a portrait for the first time, or perhaps the first time in a very long time. People living in a group home for the developmentally disabled who now have a “family portrait” proudly displayed in their living room. Single moms who have recently fled an abusive relationship and now have a photograph with their children to commemorate a fresh start. Families who have sent their portrait to a loved one currently deployed oversees in military service. Terminally ill cancer patients who have used their portrait for both a final Christmas card and in their obituary.
I have also seen new friendships created between volunteers and the guests we are helping.
I’ve had every single volunteer tell me that they received just as much, if not more, from the event than those they served. It truly is in giving that we receive.
How do you start a local Help-Portrait chapter?
Three things are needed to put on a Help-Portrait event:
1 – Volunteers
When the concept is properly described to potential volunteers, I find it pretty easy to get enough people involved. Just make sure that your volunteers understand that it’s not about them, it’s about our guests. This is not a portfolio-building opportunity. Nobody’s logo is appearing on the back of a t-shirt. This is about giving pictures, not taking them.
While amateur photographers and stylists are certainly welcome, I do find it much easier to put on a Help-Portrait event with professionals serving in these key areas. Hair and makeup artists who bring their own equipment and can make your guests look their best creates an incredible amount of excitement. Photographer’s who are comfortable with studio lighting, diverse group posing, and getting a great image in-camera with just a few shots will produce better portraits that are easier to process and print onsite. But these professional volunteers need assistance, and so hobbyist photographers and stylists can have a great time learning from their professional counterparts while also capturing “behind the scenes” photos of the event or helping with small hair/makeup tweaks when guests are in the photo studio.
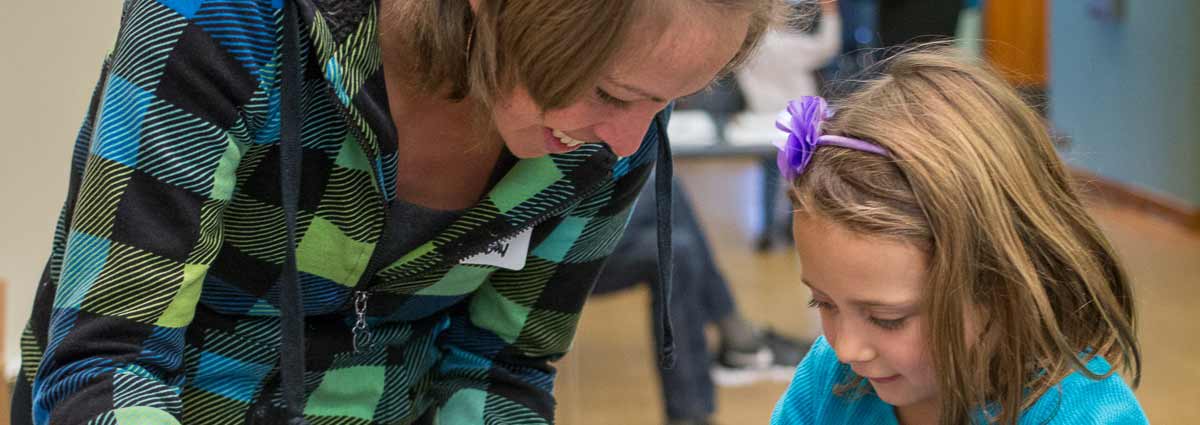
For me, the most important volunteer at Help-Portrait is what I call the “shepherd.” I assign one to each group of guests. This person starts at check-in and then takes their assigned group of guests around to the hair/makeup station and portrait studio before helping to present the framed print when completed. During this time, our shepherd is there to listen to our guests, who often have a heartwarming (or even a heartbreaking) story to share. The shepherd is there to respond in a compassionate way. The shepherd can also help with any logistical needs, such as corralling kids or making funny faces that prompt smiles for the photographer. Serving as a shepherd requires a certain personality, so recruit for this role very selectively.
2 – Venue
These days, an indoor portrait studio is a harder thing to find as more and more photographers move to on-location outdoor shooting. Even if one of your photographers has a studio, it might not be large enough to handle a large group of people.
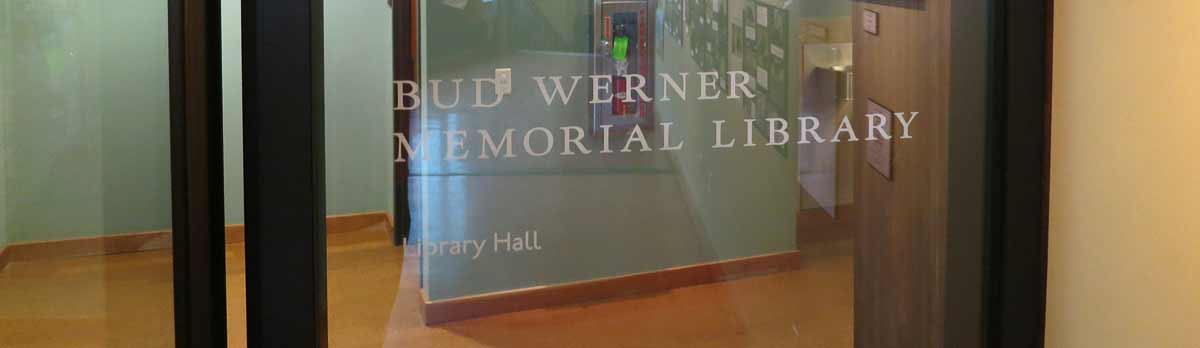
If you’re partnering with a shelter or church, perhaps you can use their space, although I will mention that having your event at a church can turn some volunteers and guests off. Personally, I’ve used large public event spaces at our library and middle school gymnasium. For public space rental, you’ll often times need to partner with a non-profit that can cover the event under their liability insurance or purchase a single-day event liability policy as I do, which typically runs around $100 – $150.
3 – Guests
Depending on the community, finding and inviting your guests can be the most difficult part of Help-Portrait.
When I started my first Help-Portrait chapter, we didn’t have the typical large-scale humanitarian organizations like a homeless shelter. I had to use more grass-roots marketing efforts, such as distributing flyers at low income housing complexes, leaving information at local nursing homes, and asking the select few governmental agencies like Human Services to help invite guests. Since some people will assume the concept is too good to be true, that there has to be a catch, I highly recommend working to get a few well-known references for the event, such as a pastor or community leader who can vouch for the concept and also help spread the word.
While many Help-Portrait events do walk-ins, I’ve always required reservations for easier logistics planning, from knowing how much equipment we need to bring to being better prepared for the special needs of our guests. This has helped our events serve 75 – 125 people each day without any chaos or lines to wait in.
What Equipment is Needed?
My “pack list” for each event is broken down into a few categories:
1 – Misc Venue
It’s important to have a table and chair(s) for each of your various stations, including setting up a check-in area. Sometimes the venue you’re using provides these supplies, but plan accordingly if not.
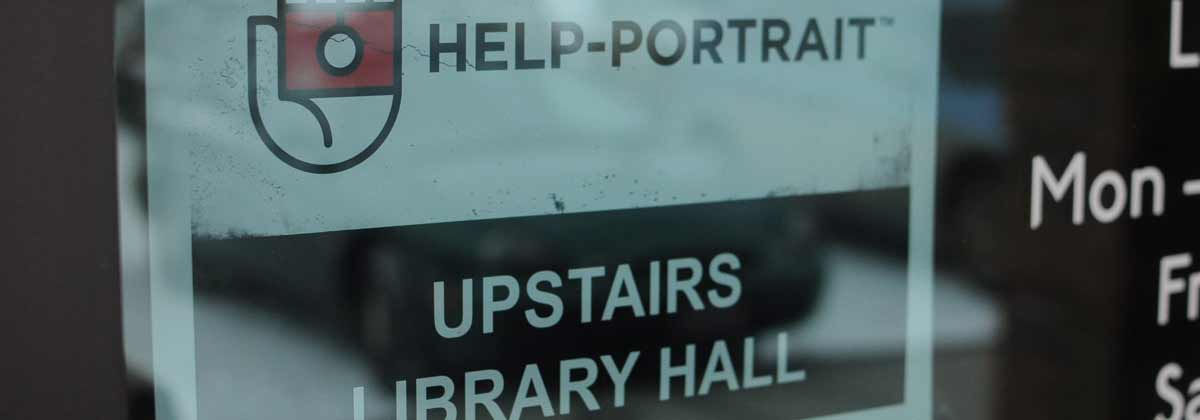
I like to have good signage near the venue entrance and at the various stations so that people know where to go and why. Several templates that can be used for this purpose are available on the “Free Downloads” page at help-portrait.com. I also place the “Public Notice” sign at each entrance and ask people to let me know if there is a concern with them being featured in the video we produce to help people for next year understand what the event is all about. I take a photo of this sign prominently displayed in case there is ever any question of the disclaimer’s visibility.
For the volunteers, I always ensure there are ample disposable water bottles to remain hydrated and a name tag with the Help-Portrait logo included for clear identification to our guests.
If the venue allows it, I love to play Christmas music throughout the day, either through the venue’s speaker system or with my own set of paired Bluetooth speakers. Just don’t forget to bring a charging cable for your phone and speaker!
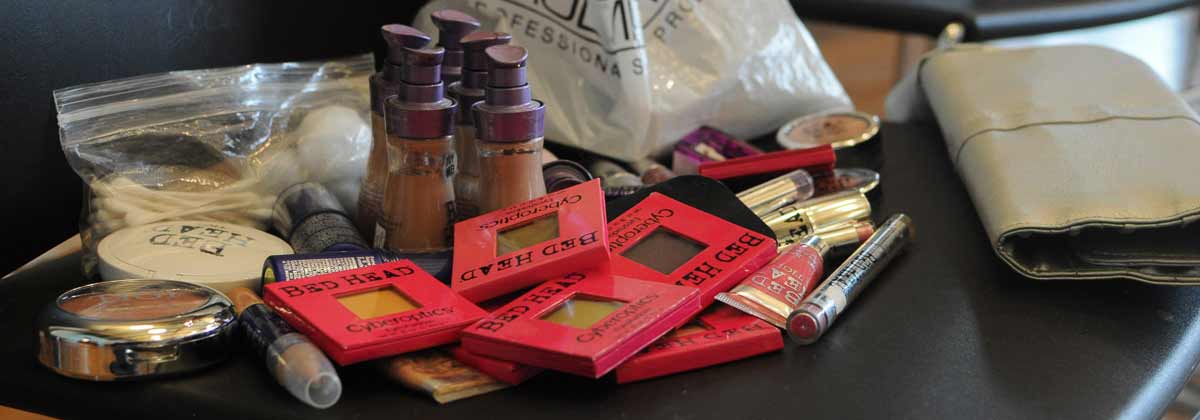
2 – Hair/Makeup
These professionals will usually bring their own makeup supplies and hair products. I always provide folding tables for them to store those supplies, nearby trash cans, and ample seating for them and our guests being styled.

3 – Portrait Studio
A camera is the most obvious need. I ask each photographer to provide and use their own for familiarity purposes. They then bring a studio lights kit or use one that I either rent or provide myself for the event, making sure in advance that the wireless trigger for the strobes works with the photographer’s specific camera hotshoe. I now use the same backdrop for each portrait station, both to avoid any challenges with a group of guests wanting to wait for their preferred background choice and also to make the post-processing easier with a consistency to the images.
If your photographers don’t have all of the above equipment, below are three different packages I recommend based on your available budget. As a disclaimer, these links use my Amazon affiliate code. You won’t pay any more money for your purchase but I will donate the commissions earned to charity, probably my local Help-Portrait chapter.
Lower Cost Option:
Cheap photography equipment is oftentimes not worth the money when you’re going to use it more frequently and/or in difficult conditions such as outdoor weather. But, if you’re looking for a cost-effective way to get started with a Help-Portrait event, this kit will do a decent job for the price.
- Neewer Photo Studio Kit: $170. Includes light stands, shoot through umbrellas, economical continuous lighting strobes, backdrop with support system, and a nice carrying case.
- Yongnuo RF-603 triggers: $30 per pair. Put one on your hotshoe and plug the other into your strobe. If you’re using speedlights, the receiver can attach directly to the hotshoe mount. Different models exist for Canon, Nikon, etc. but in my experience, they’ve all worked the same on most big brand cameras since this is manual flash exposure, not TTL. Different strobes accept different cord configurations so you might need one of the various adapter cords Yongnuo offers.
Medium Cost Option:
If you’re wanting to invest in something that can be used for multiple years of Help-Portait events, or perhaps you’d like something versatile enough to use afterwards for your commercial paying clients, I’m a big fan of Godox, and would recommend assembling the following kit:
- Godox AD400 Pro: $650 each. Purchasing two of these gives you a key + fill or a key and background light. Three gives the best of both options. They can run on AC power or battery and with 400 watt seconds, are plenty of power for indoor studio needs while also performing quite well in outdoor sunlight. Each strobe also has wirelss trigger capabilities built-in (in conjunction with trigger, below).
- Godox Xpro Flash Trigger: $70. Being able to control each Godox flash independently (through groups) directly from the camera makes the Help-Portrait photographer’s job so much easier. You’ll need a camera manufacturer specific model (dash C for Canon, dash N for Nikon, etc) to acheive TTL control, but my Canon trigger works just fine on Nikon when doing manual flash exposure.
- Impact Air-Cushioned Heavy-Duty Light Stand (13 foot): $69.95 each. I prefer the bigger stands for better stability. The air-cushioning helps protect your strobe head from falling off when the extension slams down too quickly. Obviously, buy one of these for each strobe.
- Parabolic Umbrella: $40. The bigger the light source, the softer it is. This works great as a key light for group portraits. Grab a cheap, slightly smaller shoot through umbrella for your fill or background light.
- Muslin Background: $120. If you’re going to have high volumes at your event, simplicity is best. Muslin backdrops do a great job and don’t require near the light precision as a seamless paper backdrop. I like this lighter, random pattern look but have also used black and grey options.
- 1 Gallon Sprayer: $20. Filled only with water (and not reused from chemical applications), these devices work great for unwrinkling the muslin cloth. Spray an ample, fine mist throughout and your background will magically unwrinkle as it dries.
- Background Support System: $110. If you can afford one upgrade from the Lower Cost Option above, make it a better background support system. The cheap options are incredibly unstable. This one from Impact has served me well as decent quality while remaining portable and cost-effective.
Higher Cost Option:
Elinchromes or Profoto strobes. Huge parabolic softboxes. Painted canvas backgrounds. These sort of things cost a lot of money and will probably only be used if they are provided by each photographer, so I won’t even link to any product pages.
General Supplies
Regardless of your specific setup, there are a few things you should always have on hand for the portrait studio:
- Double Zipper Sandbag: $15 for four. Helps weigh down your light stands, which is very important when kids are running around
- Gaffer Tape: $16. Used for a wide variety of tasks, like taping down your background.
- Spring Clamps: $10. Similar to the gaffer tape, you’ll think of tons of uses, but will certainly need a few for keeping your background in place on the support stand.
- Extension cords and power strips. Bring lots of these for the flash equipment (and more, below), and then affix them to the floor with bright red duct tape to prevent tripping.
- Folding tables. Your venue will often have these, but placing one at each portrait station provides a place for the photographer to keep their camera, props, and more.
4 – Printing/Framing
This is where things can get expensive, even if professionals are lending all of the equipment discussed above. Beyond someone providing a laptop and card-reader for the post-processing, I’ve found the following products to be the best bang for your donated buck on printing those photos:
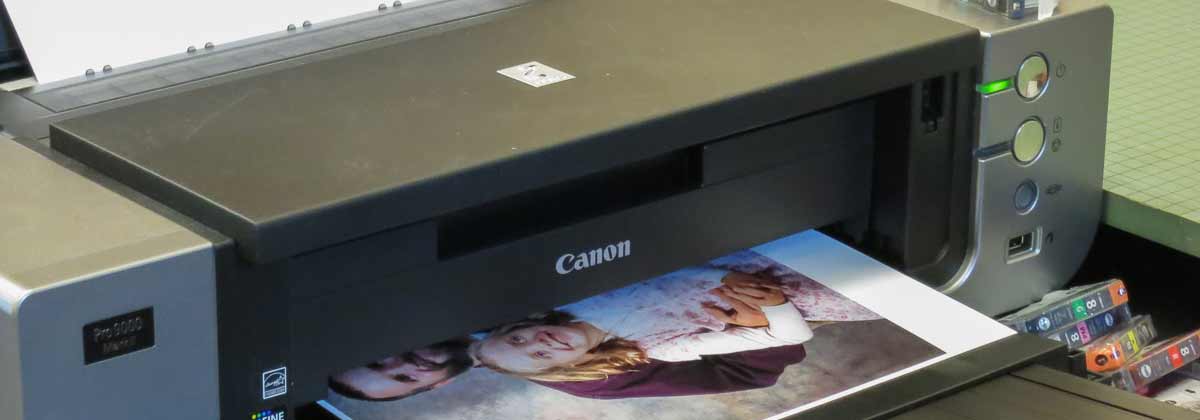
- Canon PIXMA Pro-100 Printer: $275. Produces truly professional quality photos on up to 13″ x 19″ paper. You can often get a $100 – $150 mail-in rebate from Canon if you keep an eye on their promos webpage.
- Canon CLI-42 Printer Ink: $120. Printers are oftentimes cheaper than the cost of the ink inside of them, and the above Canon option is no different. I order extras of these a few weeks prior to avoid running out and then ask the volunteers to be careful in opening new packages so that I can return what I don’t need.
- 11″ x 14″ photo paper (20 sheets): $17. A lot of Help-Portrait events give our much smaller prints. But for all the effort and cost, and considering how special of a gift this can be for the guests, I prefer the larger 11″ x 14″ size.
- 11″ x 14″ Natural Wood Photo Frames: $35 for a case of six. These frames look REALLY good around those large prints. Wal-Mart has free shipping to your local store, and you can buy a bit extra and then return the unopened boxes you don’t need.
- 11″ x 14″ Better Beveled and Matted Frame: $14.87 each. I recently upgraded to these for a more professional look with the black wood and white matte.
- Paint Can Opener: $2. A couple of these will spare your framer’s fingernails when lifting those little metal tabs on the back of the frame to insert the print.
- Windex and Paper Towels for cleaning the glass of each frame before inserting a print.
Who pays for all of this?
That’s tricky.
One of the things I like most about Help-Portrait is that it’s all about the guests, not the volunteers. Nobody is walking around in a t-shirt with a sponsor’s logo on the back. We’re giving back to the community, not advertising.
I am incredibly thankful that the local chapters I organize have included generous stylist professionals who donated all of the makeup, hair gel, and other items needed to make our guests look their best while local photographers were equally charitable in offering both their talent and lending of camera gear.
But, there are still a lot of remaining expenses to cover, and the lack of sponsorship opportunities combined with no 501(c)(3) organization to make donations tax-deductible can present significant challenges with fundraising. Perhaps you can find a church or charity organization to cover those expenses. Or maybe it’s best that you run a much smaller, cost-effective chapter – which could be as simple as showing up somewhere with your camera and then delivering some low-cost 4×6″ prints the next day.
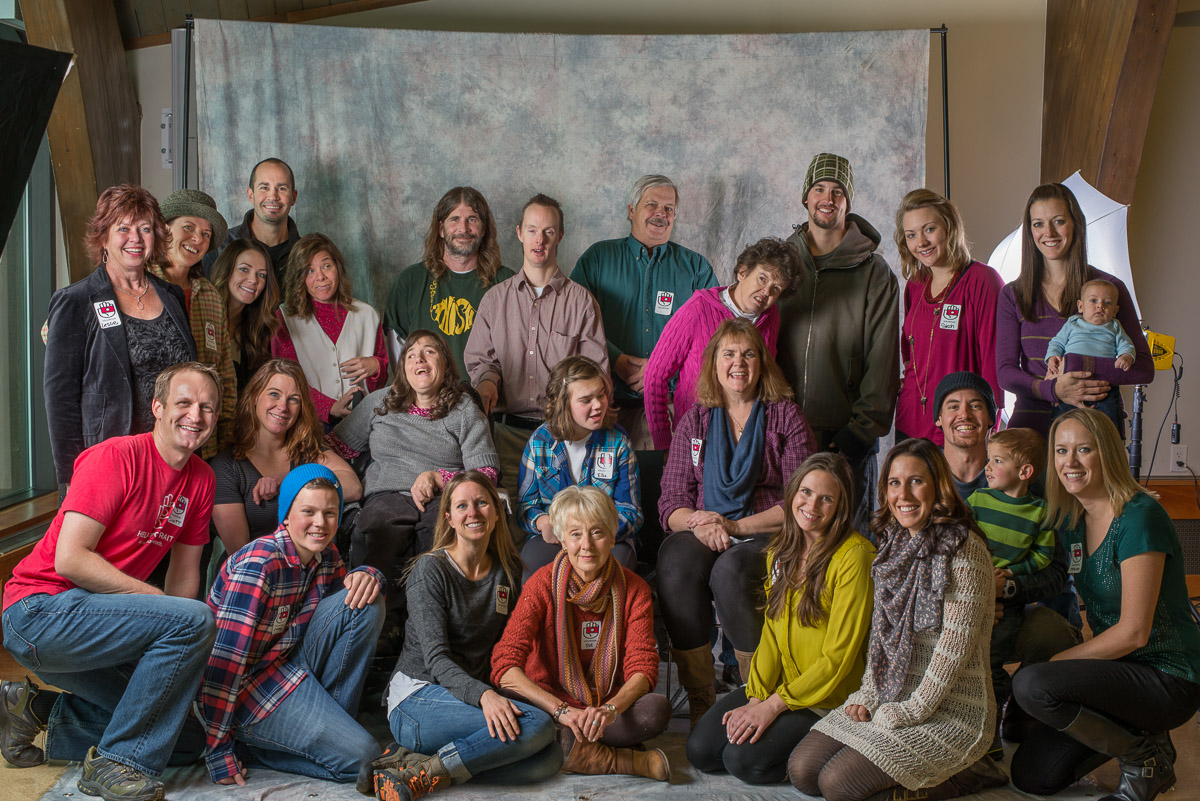
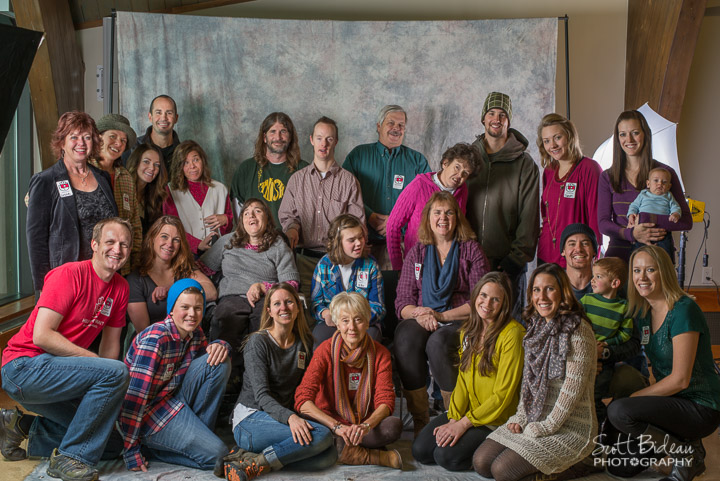
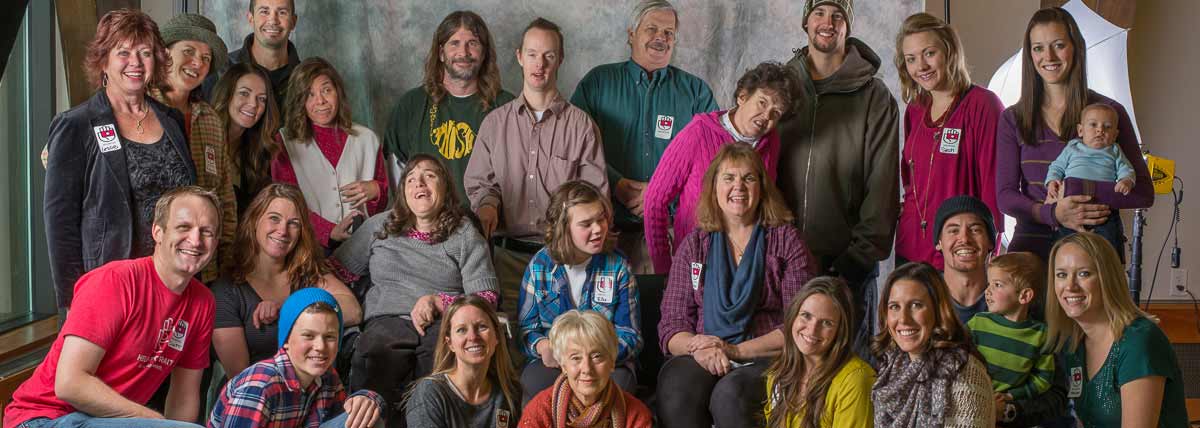
I thoroughly enjoy running a larger event and currently cover costs like extra studio equipment, venue rental and insurance, prints/ink/frames, food for the volunteers, and more as part of my regular charitable giving. I don’t tell our guests who is paying, even if they ask, but simply tell them that it is a gift from their community who loves them. Even though my donation is not tax-deductible, it is one of the best checks I write all year. I mean, look at the smile on our faces in this 2013 Help-Portrait Steamboat photo of volunteers and guests celebrating another successful event together! The experience is literally priceless!